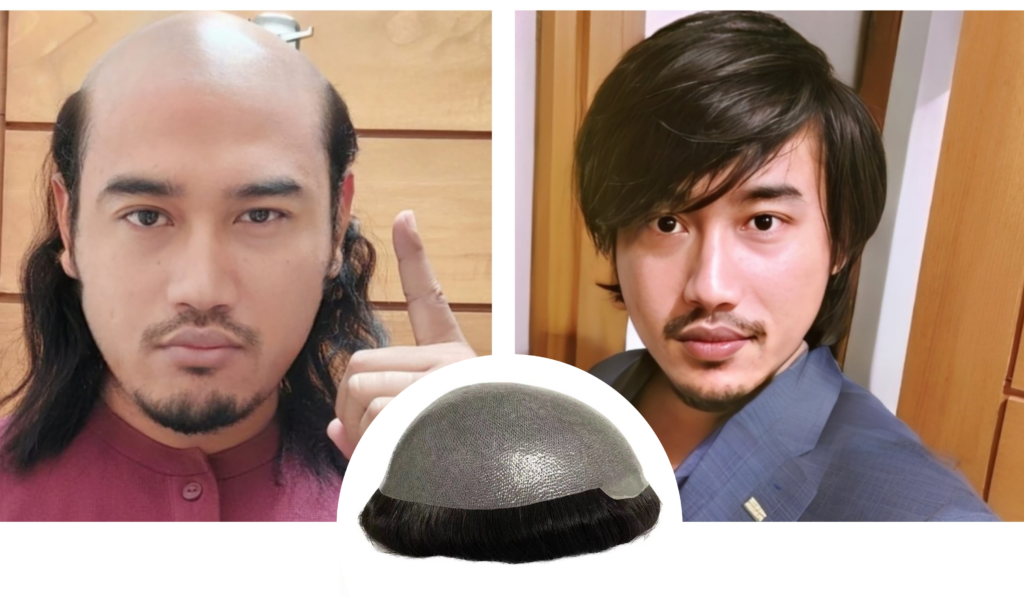
This article will show you how to install a hair replacement system by yourself not needing any external help, if instead you are one of the many hairdressers who want to sell hair implants and ask us for courses and guides, also in this case the following article will be very useful to understand that installing a hair prosthesis is really easy, THIS IS NOT ROCKET SCIENCE!
Yes, in fact, as you may know, the world of hair replacement systems is surrounded by an aura of esoteric mystery and many people believe they are dealing with something very complicated, BUT IT IS NOT LIKE THAT and you will understand it only by reading this tutorial in one breath.
Here a video that in 60 seconds shows you the different steps:
INSTRUCTIONS FOR INSTALL A HAIR REPLACEMENT SYSTEM
Following these simple instructions, install a hair replacement system will be a breeze.
Step 1. System measurements
To get the system measurements you must use a soft tailor’s tape measure and take them on the area affected by alopecia in the front to back and in the side to side … time less than a minute … repeat the operation, to be sure that you have not made mistakes , and help yourself with a mirror … exceed by half a centimeter always to give you a margin of error.
Step 2. Hair system clipping on your measurements
If you have ordered a stock prosthesis, then a trichological system with standard sizes, this must be clearly cut out on your measurements.
You have 2 options, one is to send us the measurements and have it cut out by us, the other is to do it yourself at home or in your aesthetic center.
In this second case it’s all much easier than you think: use a white pencil and mark the measurements of your alopecia on the base … then with scissors (some prefer a razor blade or even a scalpel), cut out the system on your measurements: ATTENTION ALWAYS SIZE AND BEHIND THE FRONT DO NOT CUT IT (EXCEPT THE EXTRA BASE WITHOUT HAIR THAT MUST BE CLEARLY CUT) …
Now using a comb, combr all the hair at the edges cut to make the hair stuck at the borders go down.
Step 3 . Clean the alopecic area
If in your sector affected by baldness or alopecia you still have hair, shave well, wash with neutral shampoo, dry and then with a cotton pad soaked in alcohol, clean the skin well of all the fat it could have.
Now you are ready to system installation.
Step 4. Adhesives and tapes
You must proceed to put the tapes … the tapes must always be placed on the base … I advise you to put them on the perimeter behind and on the sides and someone on the front half a centimeter from the front perimeter.
Now remove all the protections and proceed to put the system on your head ; always proceed from the back to the front … with tweezers (if you want) move back the hair of the front and that half centimeter of front perimeter that still has no glue.
Then with a cotton swab take some glue and put it on your forehead … let it dry (you can use a hairdryer to speed up the time) and proceed to make the front of the system adhere to your head … with your fingertips helped to press the system well and make the tapes adhere to the forehead.
Step 5. Hair cut
You have two options: one is to ask us to send you the already cut and stylized system, in this case by contacting our agents you will simply have to send us photos of how you want the cut and one of our hairdressers will do it
newlacecu@gmail.com – whatsapp 0086 13375586492
Two: go to a normal hairdresser (use a cap to cover hair that is too long, in fact the system is received with a length of 12-15 cm) so that you can style the trichological system as you wish.
Here in a few points the mystery of how a capillary prosthesis is installed the first time …